"Great" Digital Photography
I "accidently" became involved in photography when I was in junior high. While waiting for my ride home, I spied my cousin walking down the corridor adjoining the classrooms; so I followed and ended up in a room where the school's photography club was having their open-house. From a Kodak 126mm instamatic camera to a Minolta rangefinder, I am now into DSLRs, and GoPro Hero's.
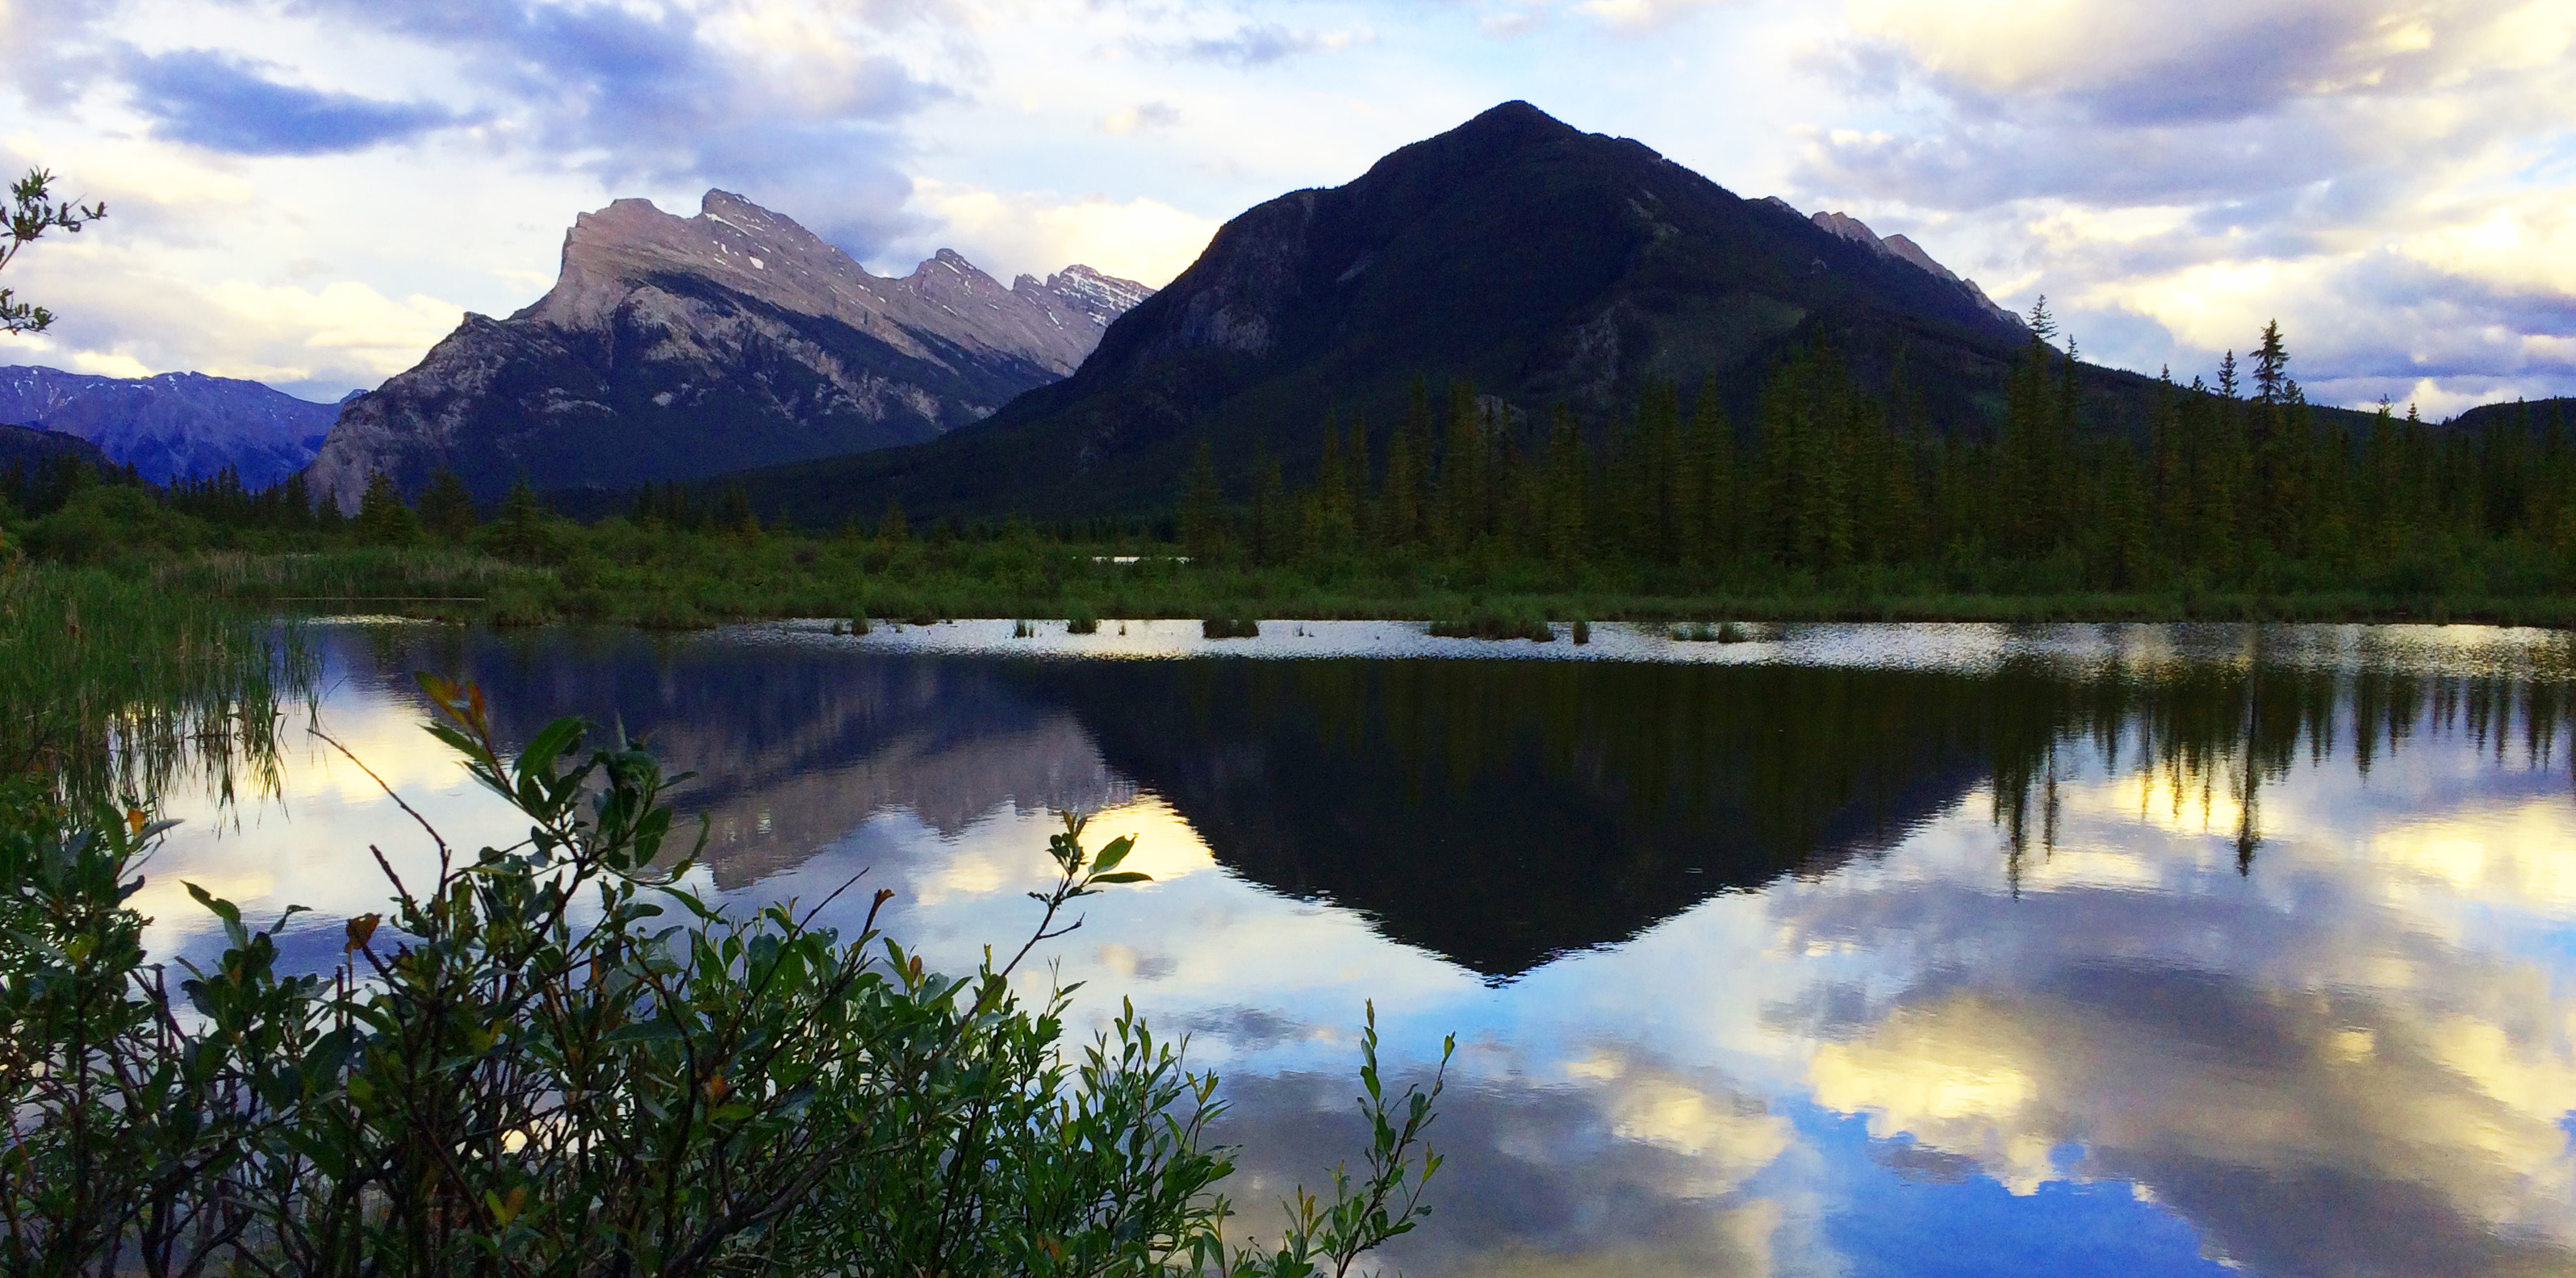
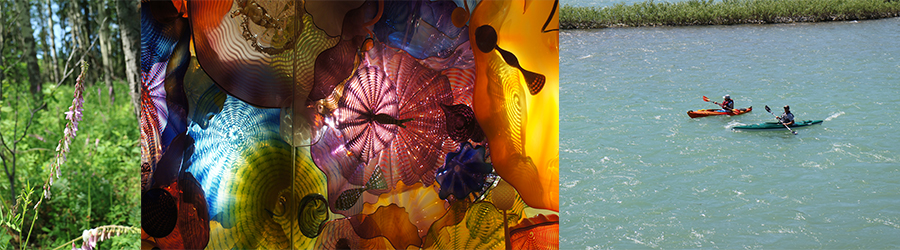
My first "love" was landscape photography, but I have since graduated to wedding, botanical, action, and night photography; actually I just love taking snapshots. The lastest project was the solar eclipse in August this year (2107).
Another aspect of photography is working with Adobe Photoshop and Lightroom. I also dabble a bit in video photography (or videography) and music composition. At present I teach courses in Photography at the local high school and I really hope to instill a similar passion in the students. Without it, photography is just about selfies and clicking, not about capturing a special moment/scene in time; one that cannot be repeated, ever.
Here are some pointers and tips from some experts and myself, to take that "better" shot; not perfect, just good.
There are a few things that must be checked to be ready for that shoot opportunity:
I recommend that you set up with a single lens. If you think you might need more than one, it's actually better to have two cameras, each setup at different ranges. And flash is optional, since most digital cameras are capable of shooting at high ISO.

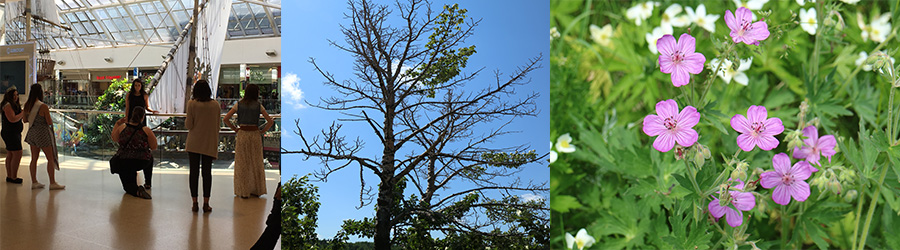
Photography is more about what you "see" than adhering to a formula. Did anything look interesting, unusual, or impressive? It's about that "gut feeling" that a scene looks nice, colors are different, or something that just leave you a bit "moonstruck". Remember in this age of digital photrography, you can always capture the moment now since it will be impossible to return to this very same spot again; and you don't have to worry of using up resources since storage is quite inexpensive.
Do keep in mind that smaller apertures mean less light is hitting your image sensor at any point in time so they will mean you need to compensate either by increasing your ISO or lengthening your shutter speed (or both).
If you understand the importance "sharpness and detail" in photography, you know that sometimes having a steady hand is very important. Equally important is lighting/exposure. As a result of the longer shutter speed that you may need to select to compensate for a small aperture you will need to find a way of ensuring your camera is completely still during the exposure. In fact even if you’re able to shoot at a fast shutter speed the practice of using a tripod can be beneficial to you. Also consider a cable or wireless shutter release mechanism for extra camera stability.
If there's time, and you should always make the time, compose the shot. Usually I follow the "2/3" rule, but then there are times when rules are made to be broken. Take a number of shots, changeing the composition and the "point of view" (POV). Take as wide as you can to fill in all of the scene and only zoom on the rare situations. Remember, if you left something out of your shot, there's no way to get that into the final image, but you can always crop the photo. With the 16 -24 megapixel sensors avaialble, wide-angle shots are just fine for post-production work.
I carry my camera by holding the lens in the palm of my left hand (I'm right-handed), with the strap across my body (not off the shoulder as the camera tends to slip this way). When the moment arrives, usually unexpected, I raise the camera to eye-level, turning it on at the same time, and "fire". Take multiple shots (most cameras have the this option if you hold down the shutter release button).
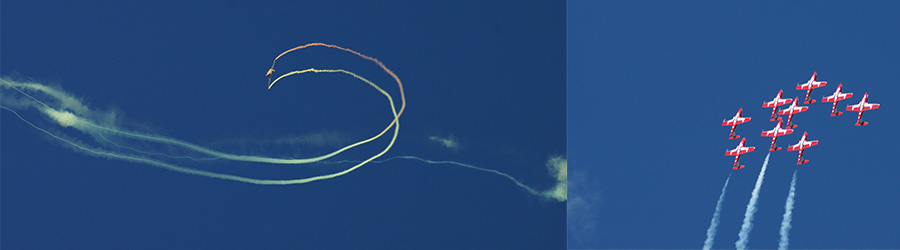
Other times, when you can anticipate the moment, prepare in advance. At an airshow, where I had the camera pointed at a space where the jets will pass and be in the viewfinder, I started shooting before the jets are actually visible.
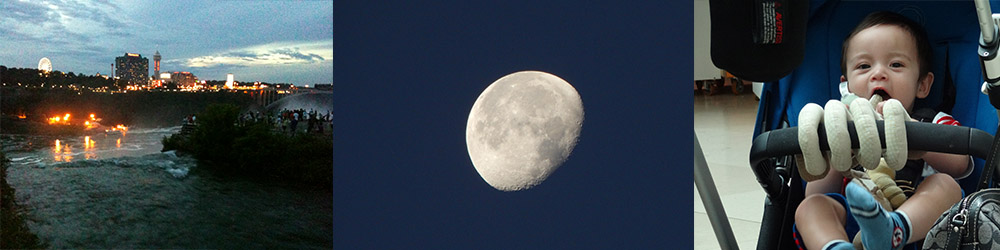
The "AUTO" setting on cameras works for most shooting occasions but once in a while, the "MANUAL" mode is definitely the only way to get that picture. While taking a picture of the full moon, my camera (Nikon D5300) was routinely over compensating for the bright, white moon and the image had a white glow. The imgae did not have the contrast level to show the dark/bright pattern of the moon's surface.
By using the MANUAL mode, I took photos using a variety of shutter speeds and apertures. This then allowed me to get the correct combination and get that one good shot.
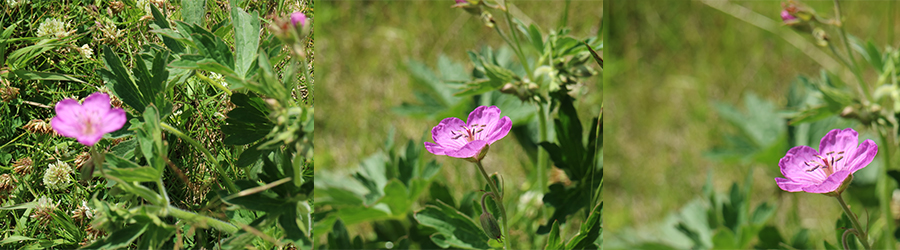
The two terms are simply mirrors of each, and you need to understand their relationship. To get the viewer's attention, the area/subject should be in focus, and that can be better enhanced if the parts surrounding the subject are a bit out of focus. Thsi means we have both a shallow depth of field and shallow depth of focus.
Shallow DOF is created by using aperture settings lower than 5.4; aperture settings larger that 11 results in the entire scene in relatively sharp focus. One interesting "artifact" created by using shallow DOF is the Bokeh effect where pin-point lights appear as small, translucent circles.
Capturing movement generally means you need to "freeze" the action by using a fast shutter speed (sometimes just 1/800 of a second). Of course this means very little light hitting your sensor which will mean you need to either go for a large Aperture, use some sort of a flash, or else pan the shot.
Of course, a tripod will be really important in these situations.
Or you use a slower speed to get the cloud effect, light streaks, or motion blur.
Almost all cameras, from Point-And-Shoot to digital SLR, come with a zoom lens; some have up to x35 (Super-Zoom) or higher. There are some instances where zoom is great: sports, social events where you really cannot get close to the subject but these shots require a steady hand and fast shutter speed if the picture is to be sharp. Furthermore, high zoom limits the depth of field and details can be lost.
I try to avoid shooting greater than 100mm-focal length equivalent. It is better to capture as much of the scene as possible and with the high megapixel resolution of present day's cameras (16 to 24 mp), you can use Photoshop to crop out the "excess". At wide-angle settings, you have more control on your composition, depth of focus, aperture, and shutter speed. Most important, these shots are more forgiving of camera shake!
It is impossible for many photographers not to use Photoshop to digitally manipulate the images just to "improve and enhance" the photo. There's a time and plce to use Photoshop but as the saying goes, "You can make a good shot a little better, but garbage is garbage". Try to get that good shot rather than having to resort to digital manipulations.